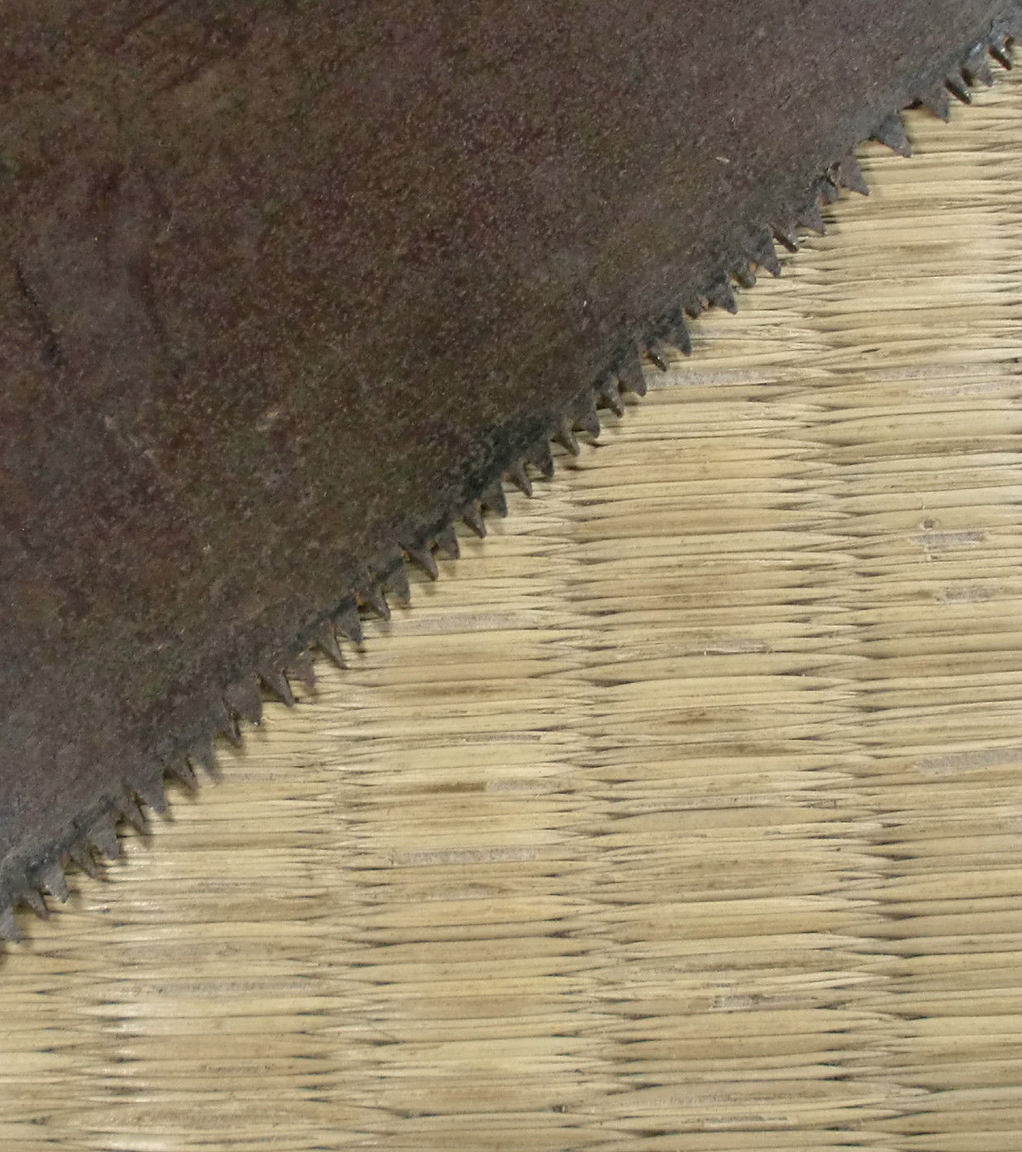
I found the original ebay posting. The saw I'm changing the geometry of looked like this:
 |
| If you look closely, there is a saw behind the rust |
 |
| note the missing teeth |
I followed my own advice and decided to file down the teeth, so I could introduce the new geometry.
This is the set up to lap the teeth.
I need to do better than that.
This is how they look.
I could almost stand on those flats.
Eventually, I levelled the whole thing, so there are no missing teeth anymore. And then, start filing.
I think my file could be way more horizontal. In fact, that's far too much slope, maybe this has to do with the final results. This is a really uncomfortable position for filing, but it works. It keeps me focused.
After several turns of the saw, filing one facet, then turn the saw, file the same facet on the other teeth, turn the saw, file the other facet, turn, file, turn, file, turn... I ended up with this.
Still a few passes to go, but the geometry is set.
Something I realised yesterday while filing was that, for the file to move downwards, you need to push into the teeth.
I kept on filing till there was no flat left, then I filled the top eye. Then I looked at it, and yes. there was something wrong. I find the teeth too thick... not long enough, not a nice basal triangle. It cuts, that's for sure, but I don't want to put the set yet, I may re-file the teeth to get something sexier.
Now, Julia was trying to make pictures with the new camera and she shot a video. I have no idea how that is done but it was a nice mistake. You can peek how I file my saws.


No comments:
Post a Comment